User Tutorial Guideline
A step-by-step guide to help you get started and manage your activities on OnInvoice.Introduction
Welcome to OnInvoice. This tutorial is designed to guide users through the essential features of the platform, from account registration to managing e-invoice submissions. Whether you are integrating with external systems or purchasing credits, this guide will walk you through each step clearly.
LHDN Intermediary Registration
This guide explains the process for a taxpayer to register and appoint our company as an Intermediary on the LHDN MyInvois Portal . This step is mandatory before using OnInvoice API integration for e-Invoice submission.
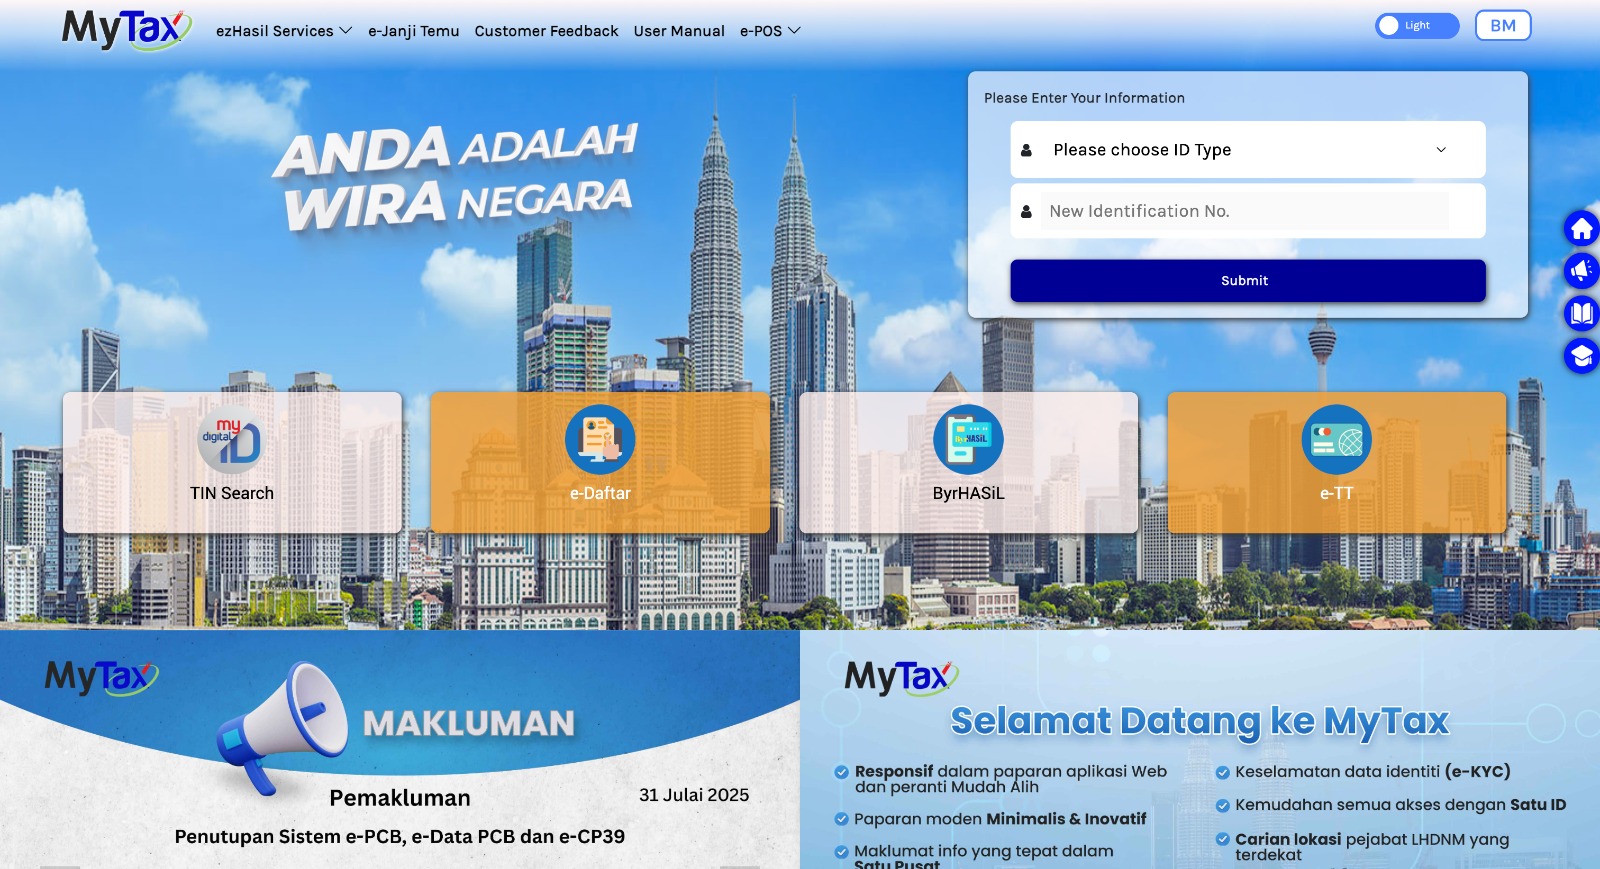
Step 1: Log in to MyTax Portal
- Visit the official MyTax Portal at https://mytax.hasil.gov.my/ .
- Log in using Digital Certificate (Sijil Digital) or authorized ID & password.
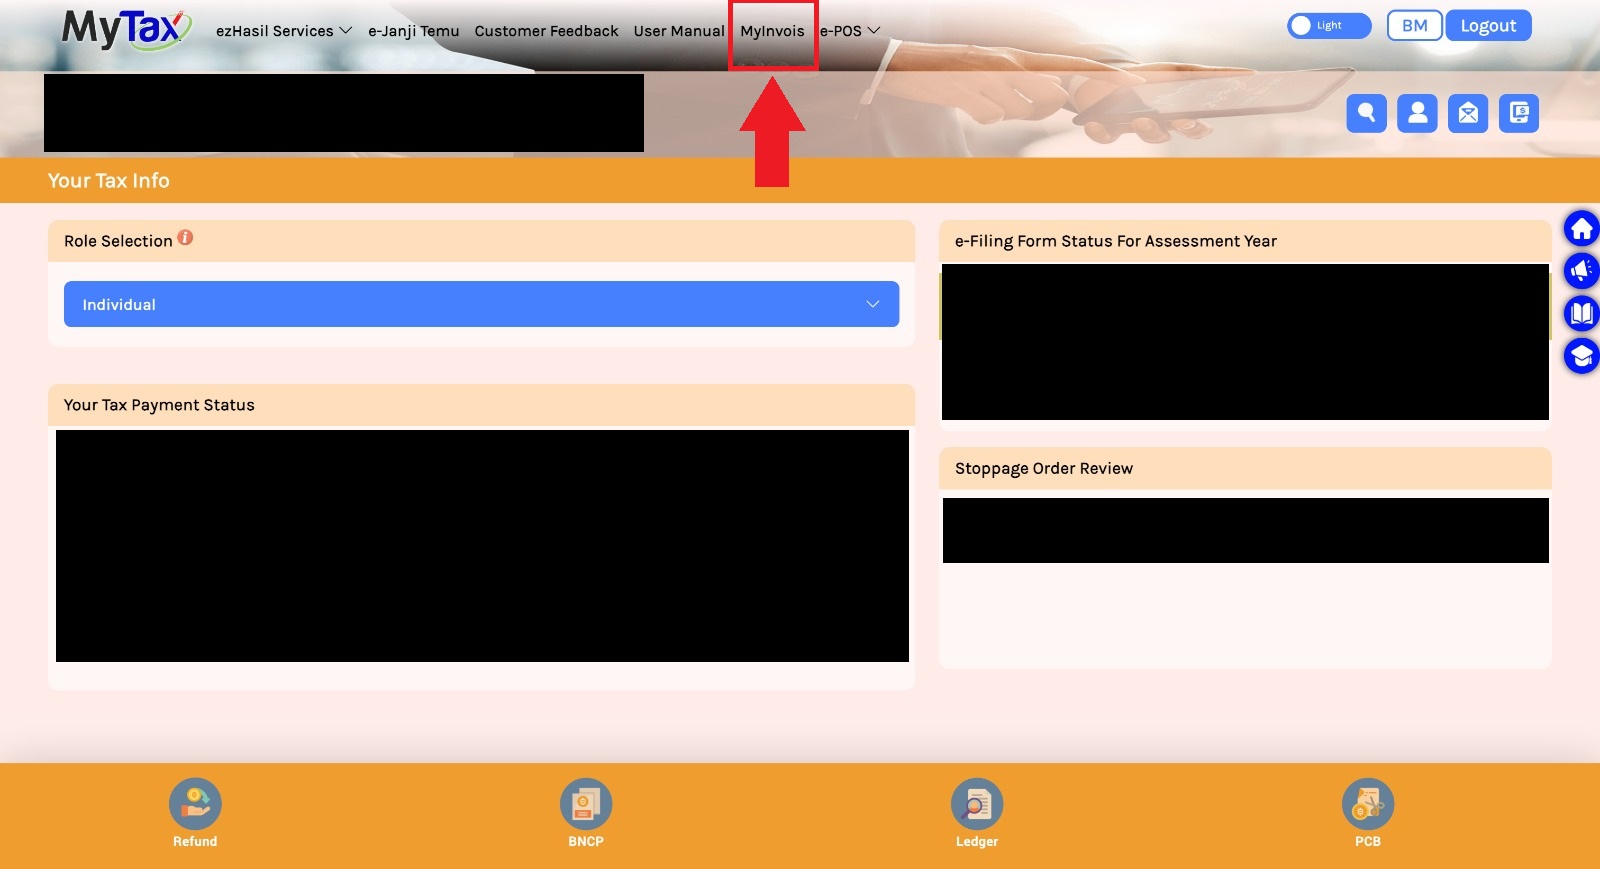
- Click MyInvois to access the MyInvois Portal.
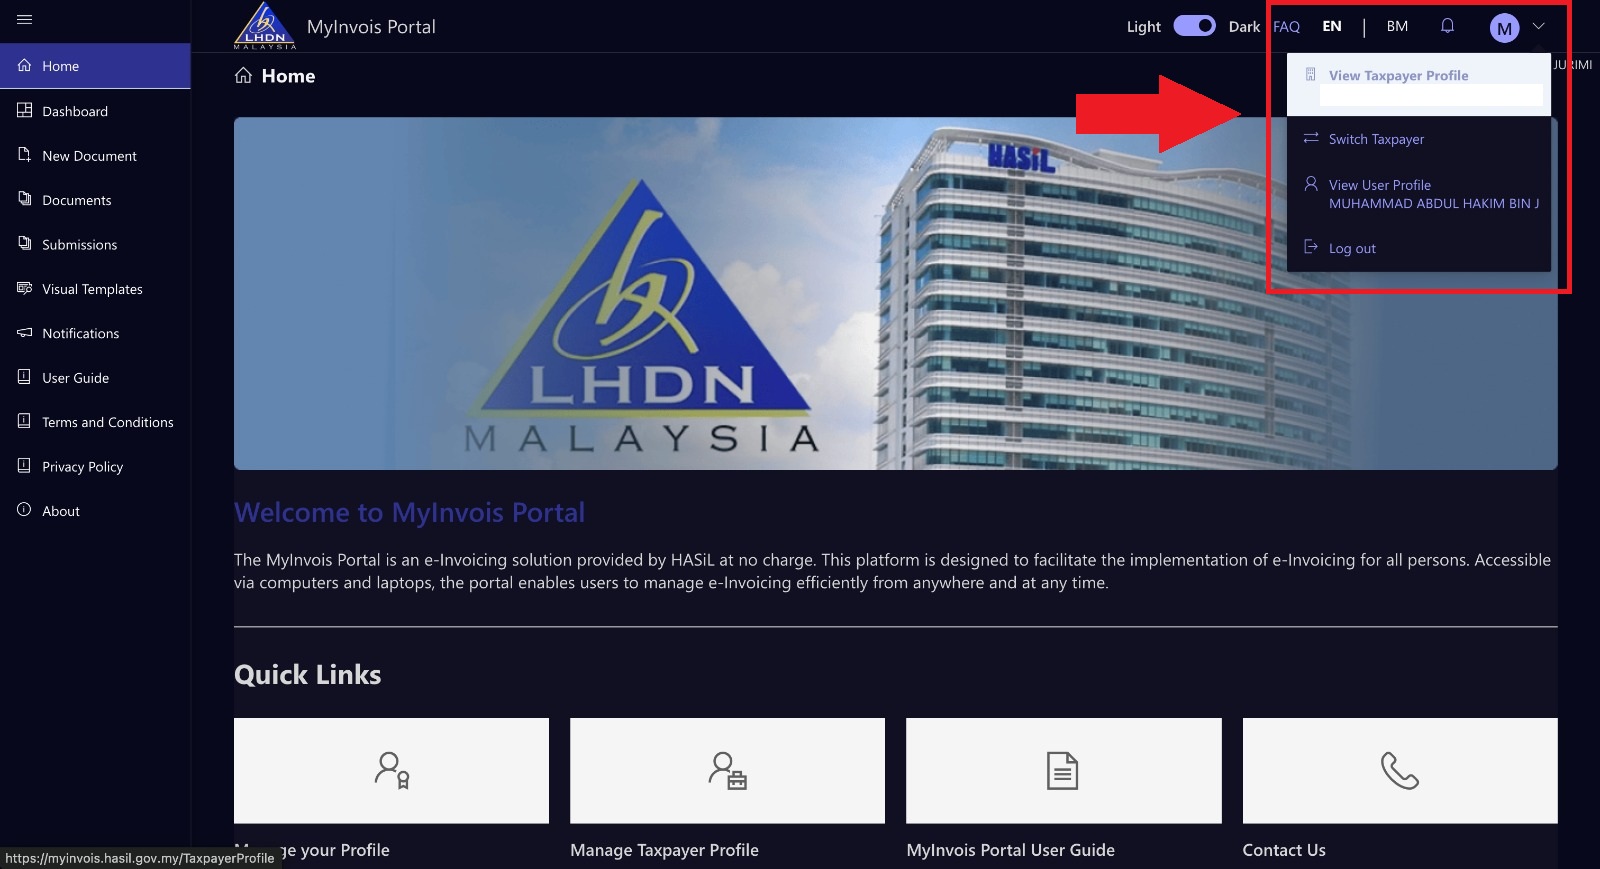
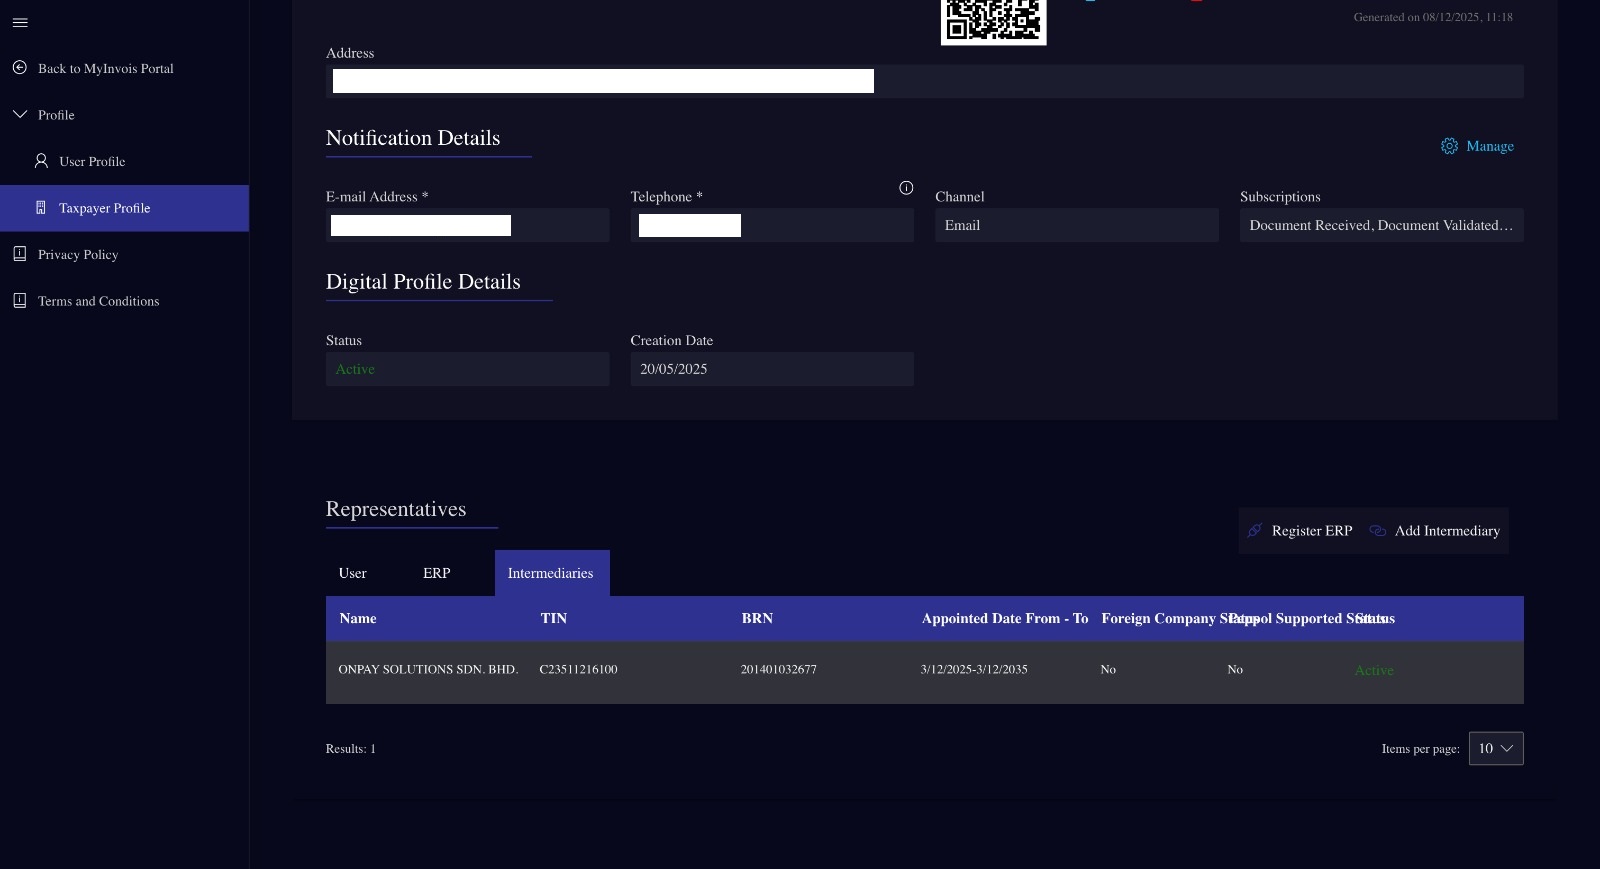
Step 2: Access Taxpayer Profile
- Click the Profile icon (top-right).
- Select View Taxpayer Profile .
- If applicable, switch to the correct taxpayer/company.
Step 3: Register Intermediary System
- In the Representatives section, click Add Intermediary .
- Enter the following details:
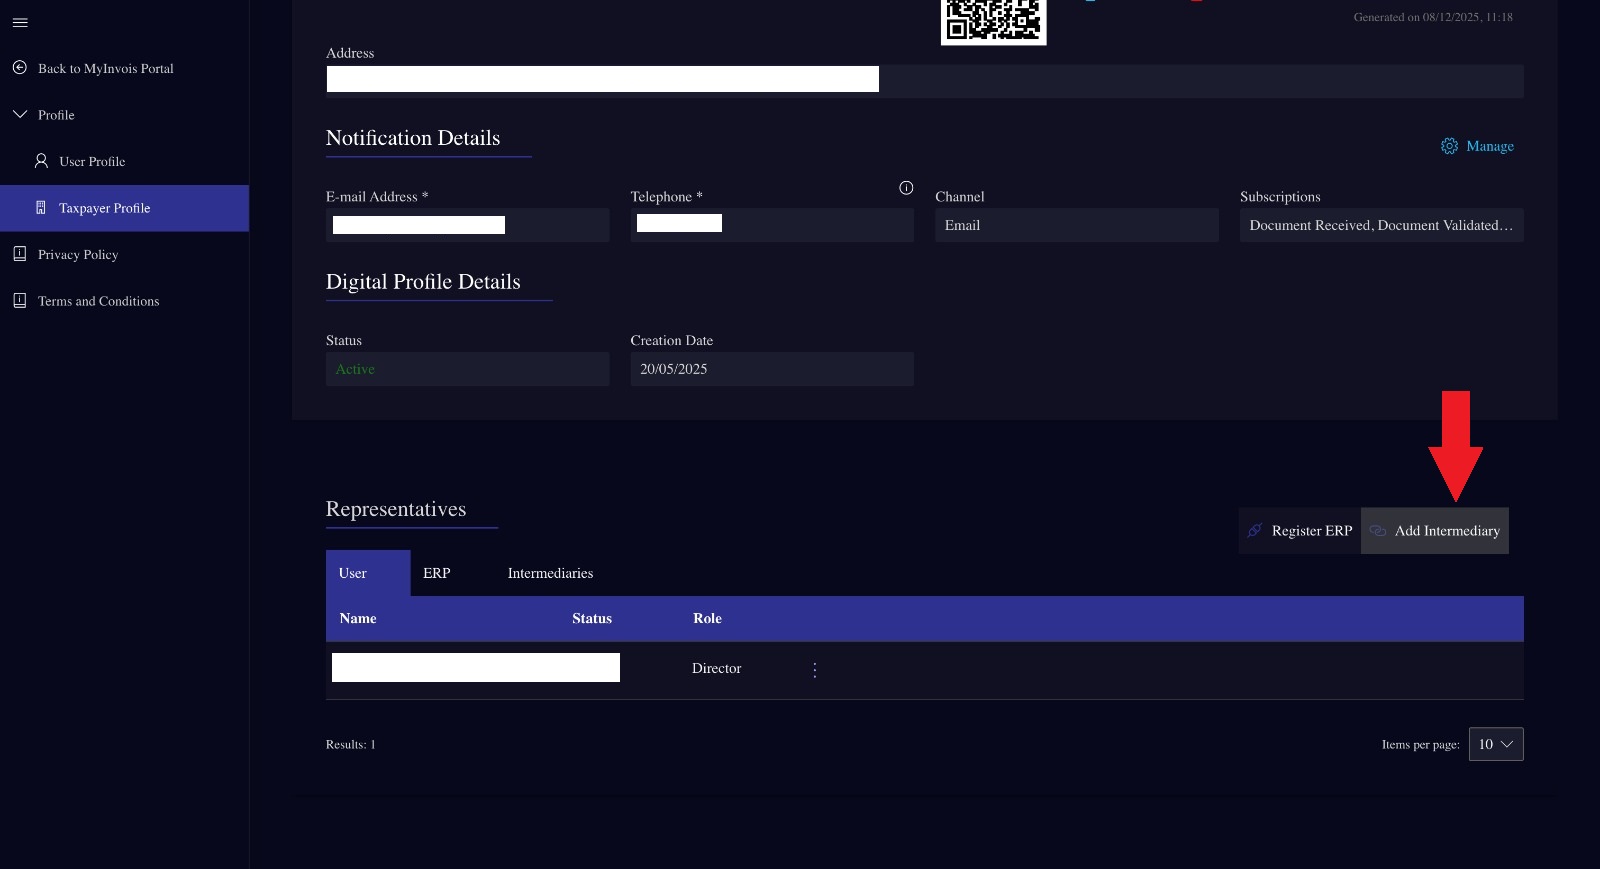
- TIN: C23511216100
- BRN: 201401032677
- Name: ONPAY SOLUTIONS SDN. BHD.
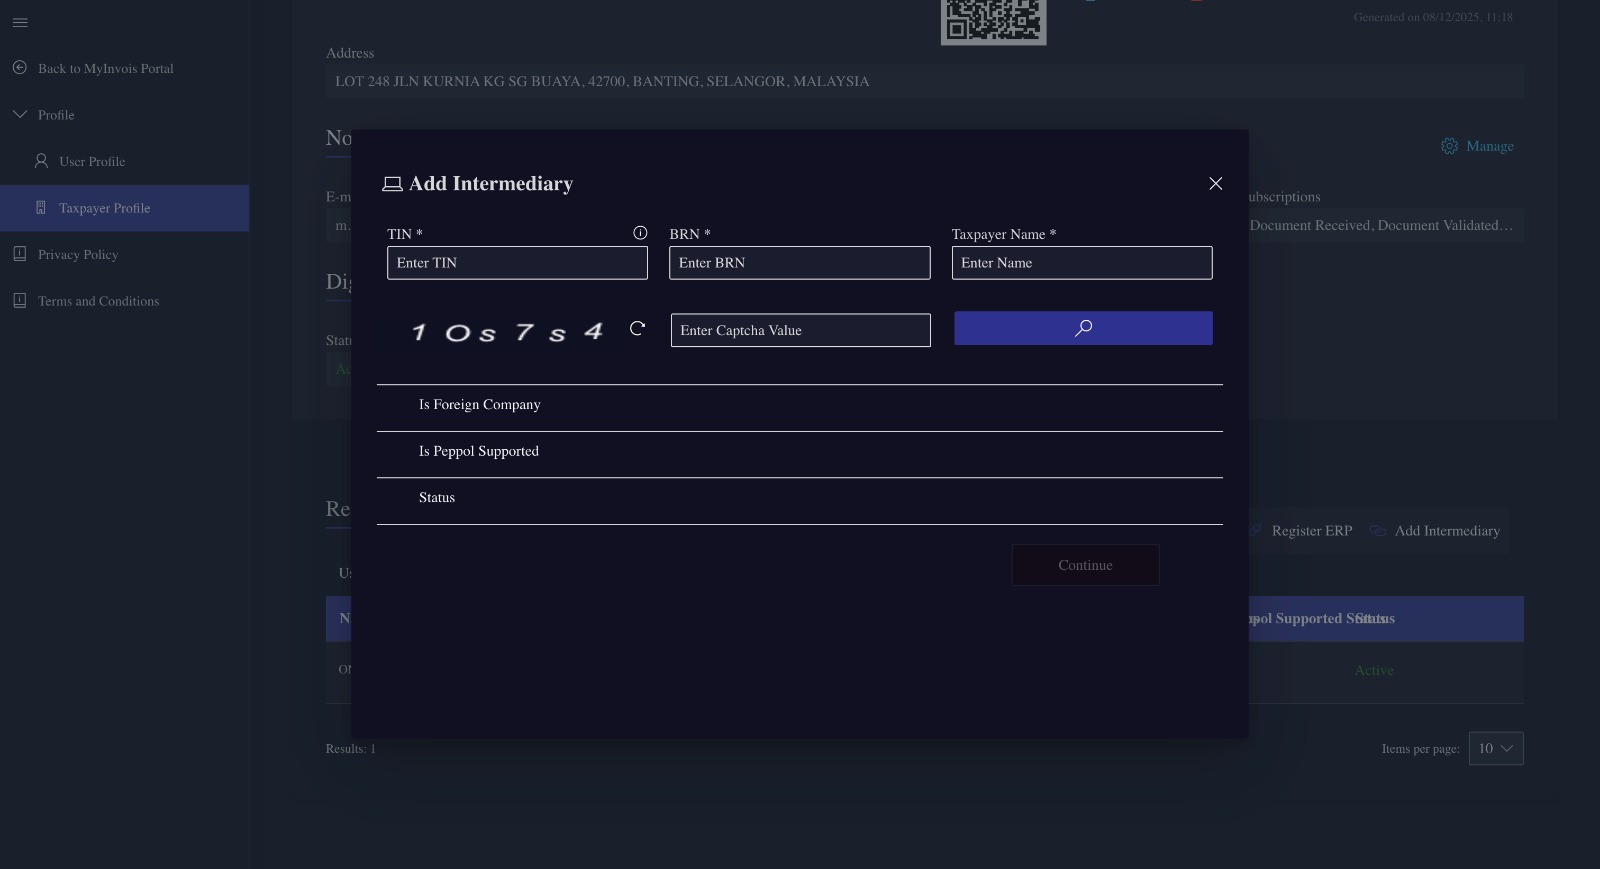
- Complete the CAPTCHA and click Search .
- Once validated, click Continue .
- Set the start and end dates (e.g. 3 years).
- IMPORTANT: Ensure all permissions for e-Invoice submission, cancellation, rejection, and viewing are enabled.
- Agree to the declaration and click Add Intermediary .
Account Registration
Login
- Go to the Login page.
- Enter your registered email address and password.
- Click the Login button to access your dashboard.
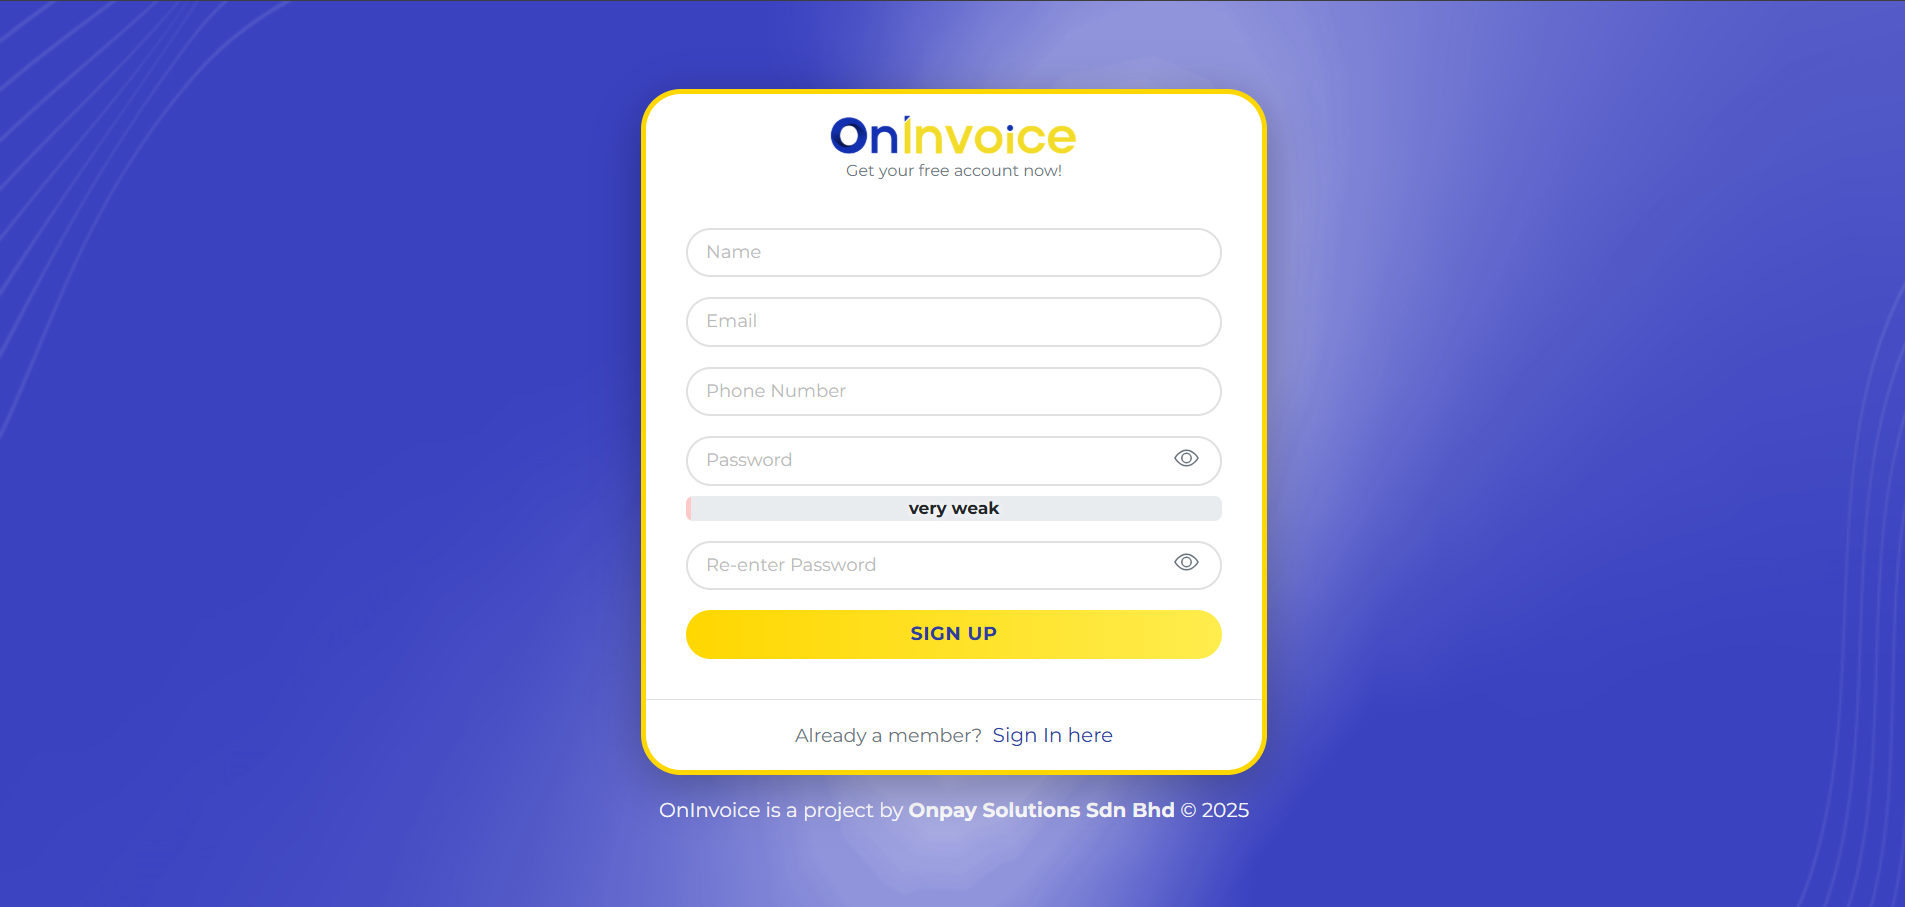
Register
- Click the Register link below the login form.
- Fill in your name, email address, phone number, and password.
- Click the Register button to create your account.
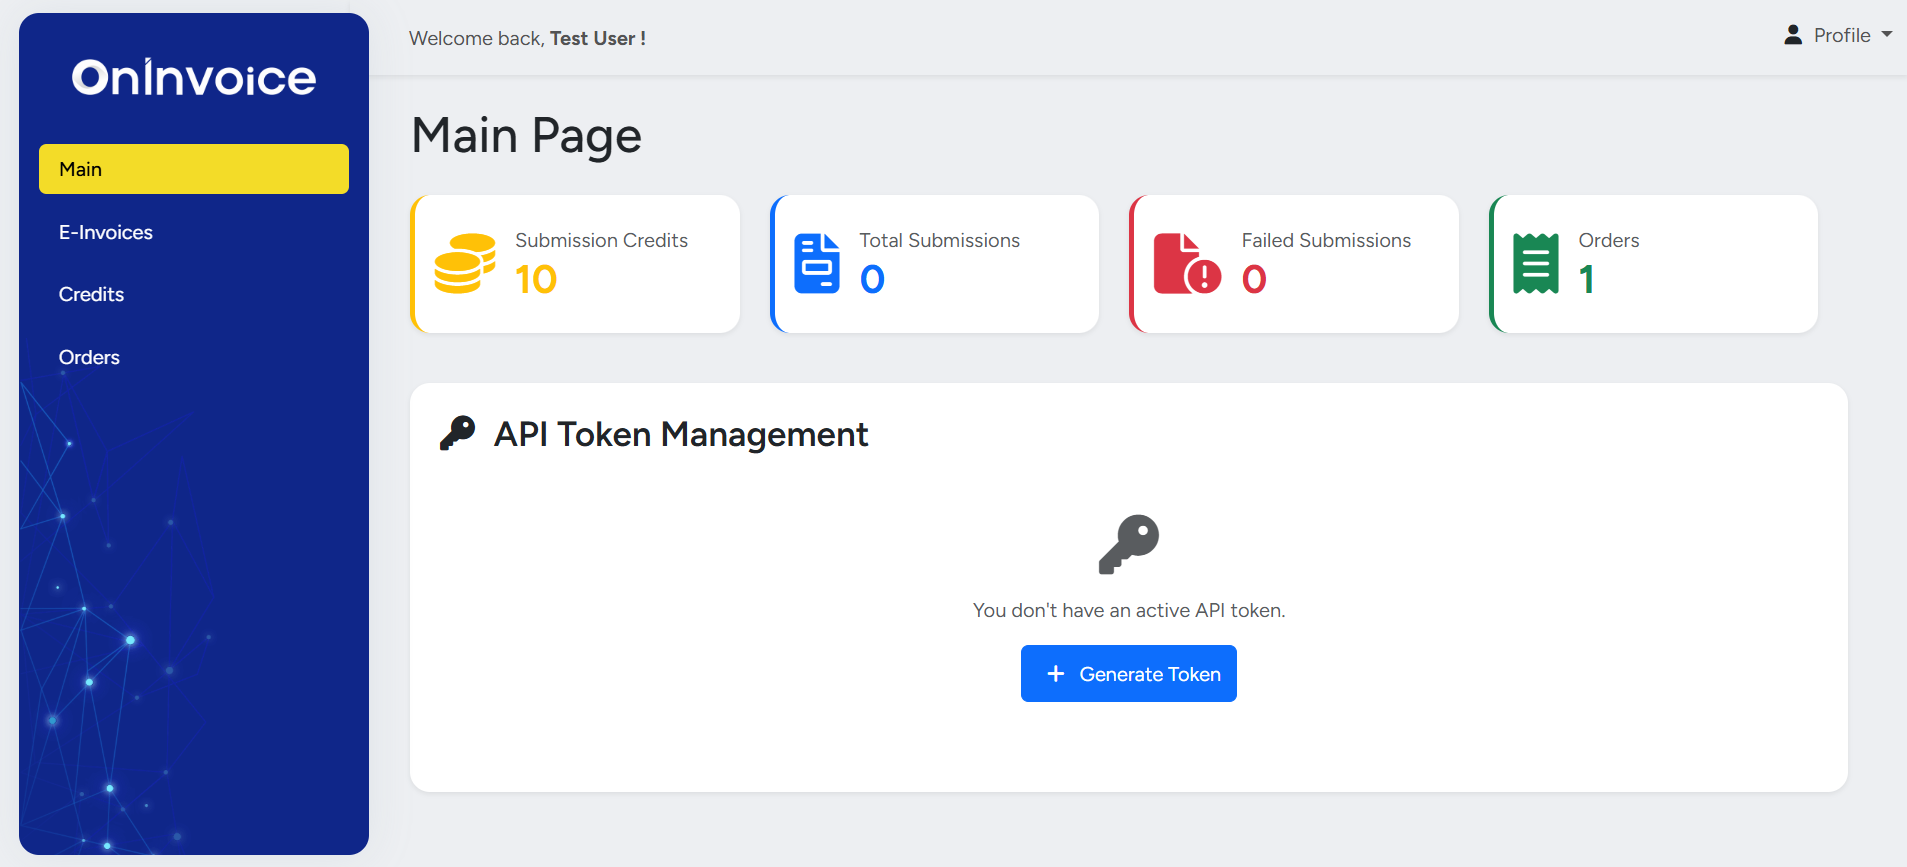
Getting API Token
An API Token is required to connect OnInvoice with supported systems such as OnPay or Fees.
- Log in to your OnInvoice dashboard.
- Go to the API Token section.
- Click Generate Token if no active token is available.
- Copy and securely store the generated token.
System Integration
Integration with OnPay
- Log in to your OnPay admin dashboard.
- Navigate to Settings ,find Third Party Integration.
- Enable OnInvoice.
- Paste your API token and save the settings.

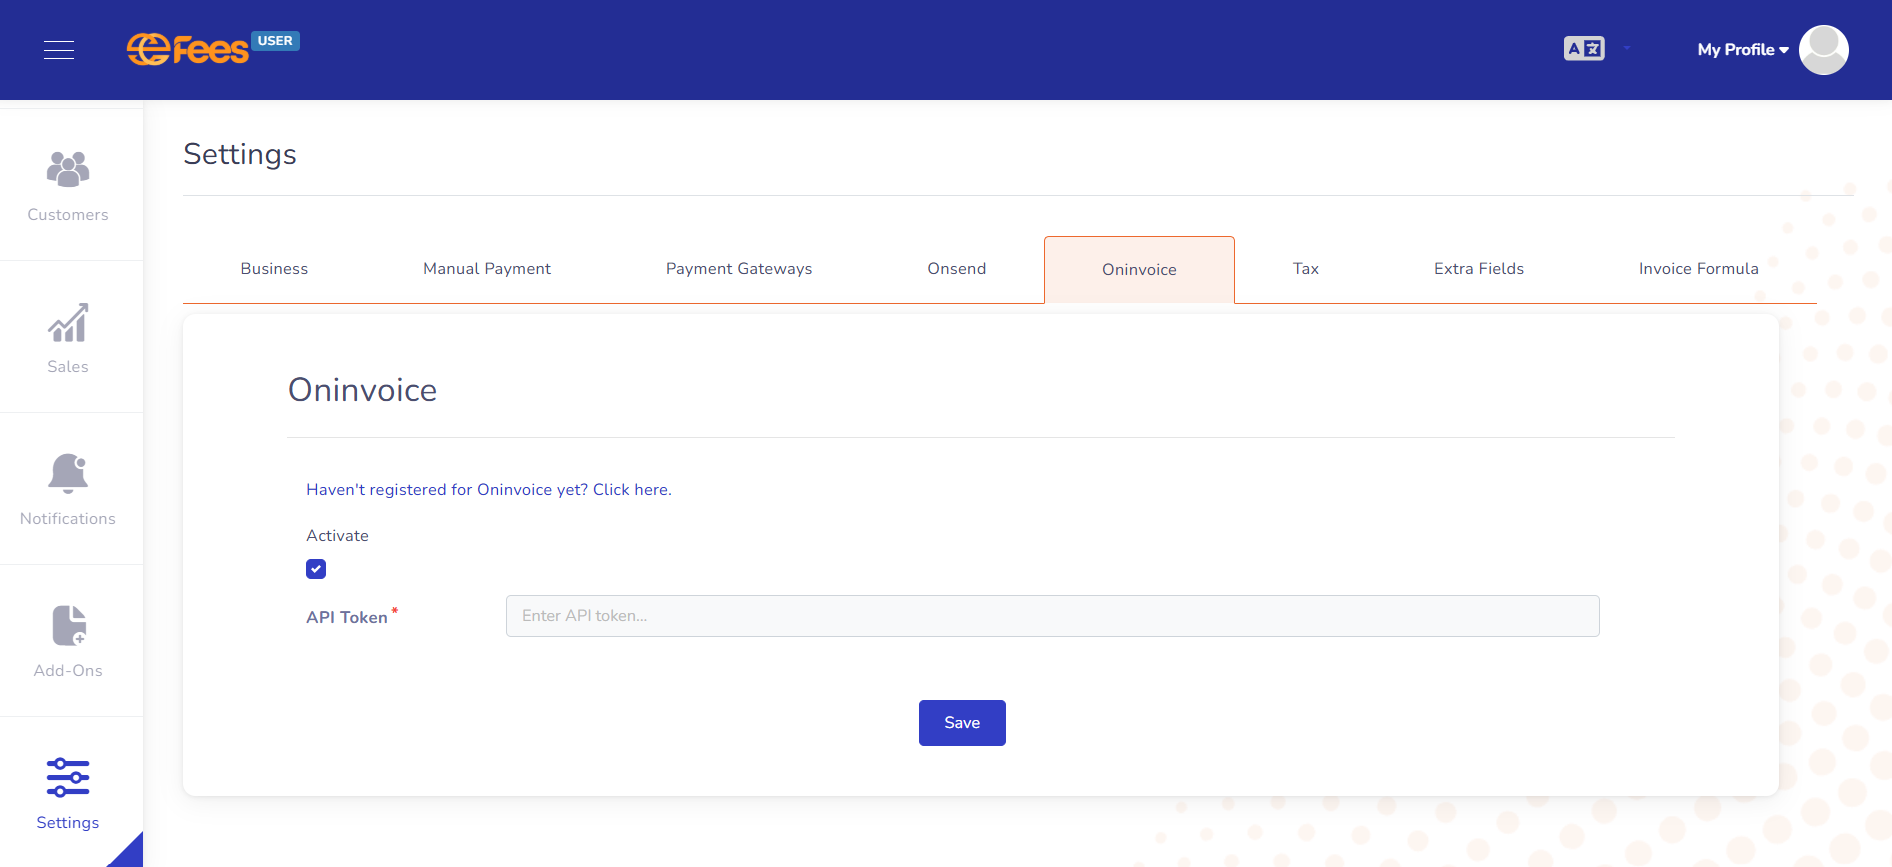
Integration with Fees
- Log in to your Fees dashboard.
- Open Settings and locate OnInvoice integration.
- Activate the integration and insert your API token.
- Save the changes.
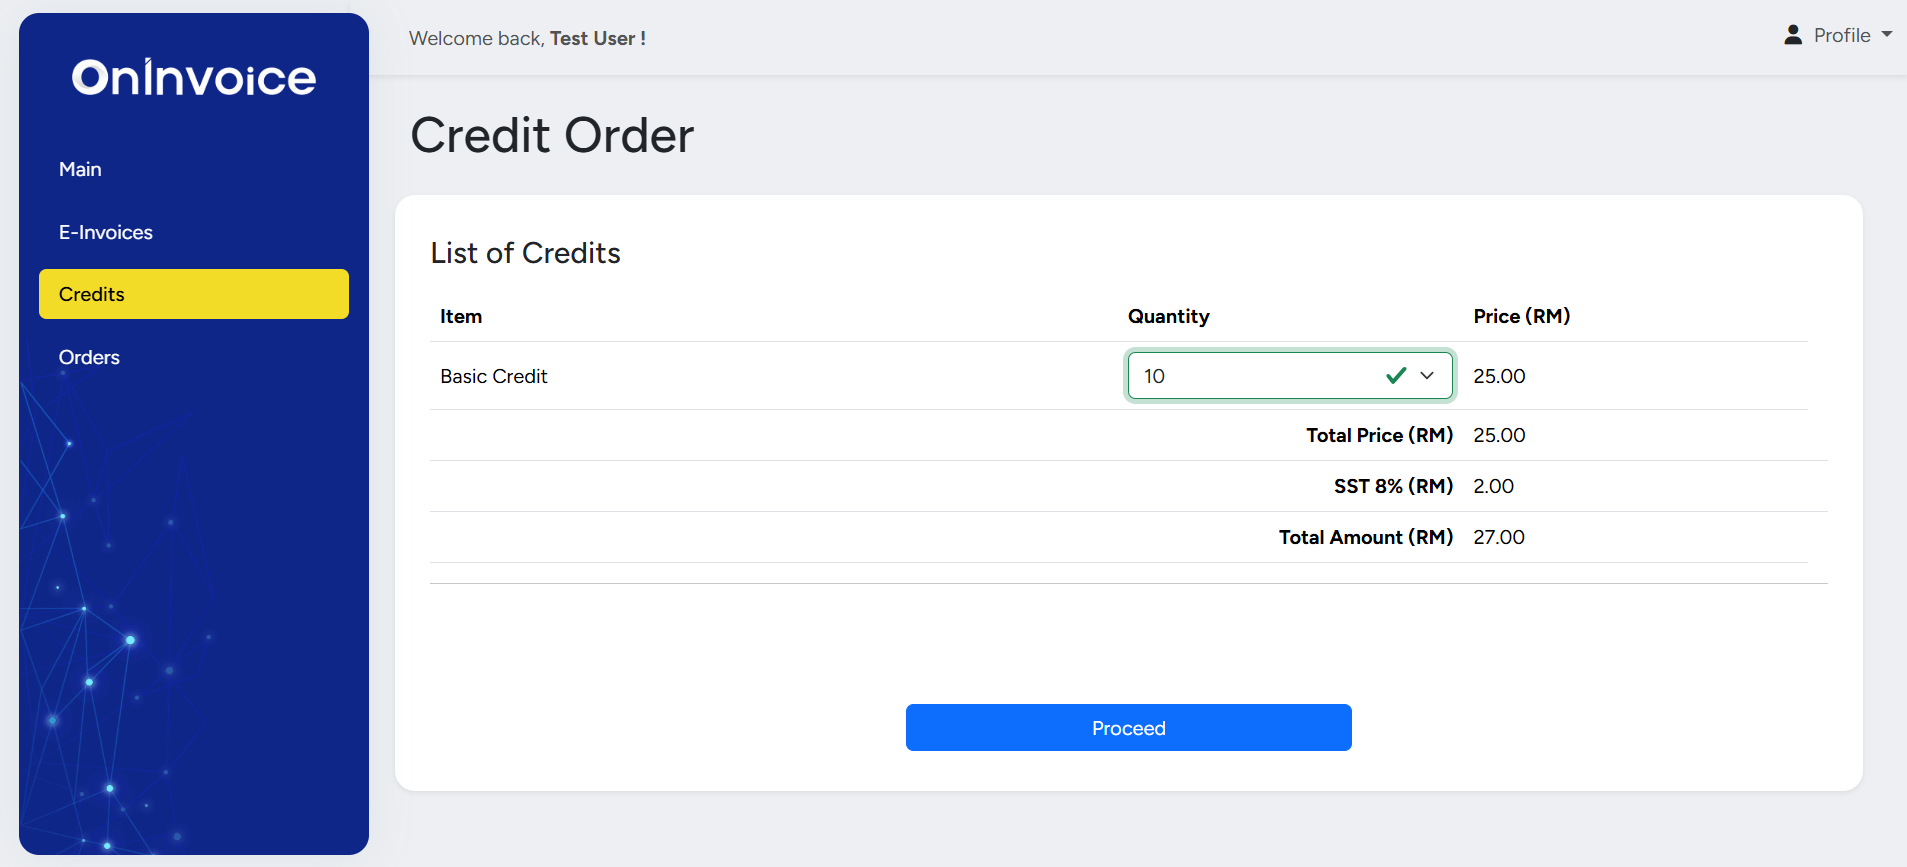
Purchasing Credits
Credits are required to submit e-invoices through the platform.
- Navigate to the Credit Order page.
- Select the credit type and quantity.
- Review the total amount including SST.
- Click Proceed to continue with payment.
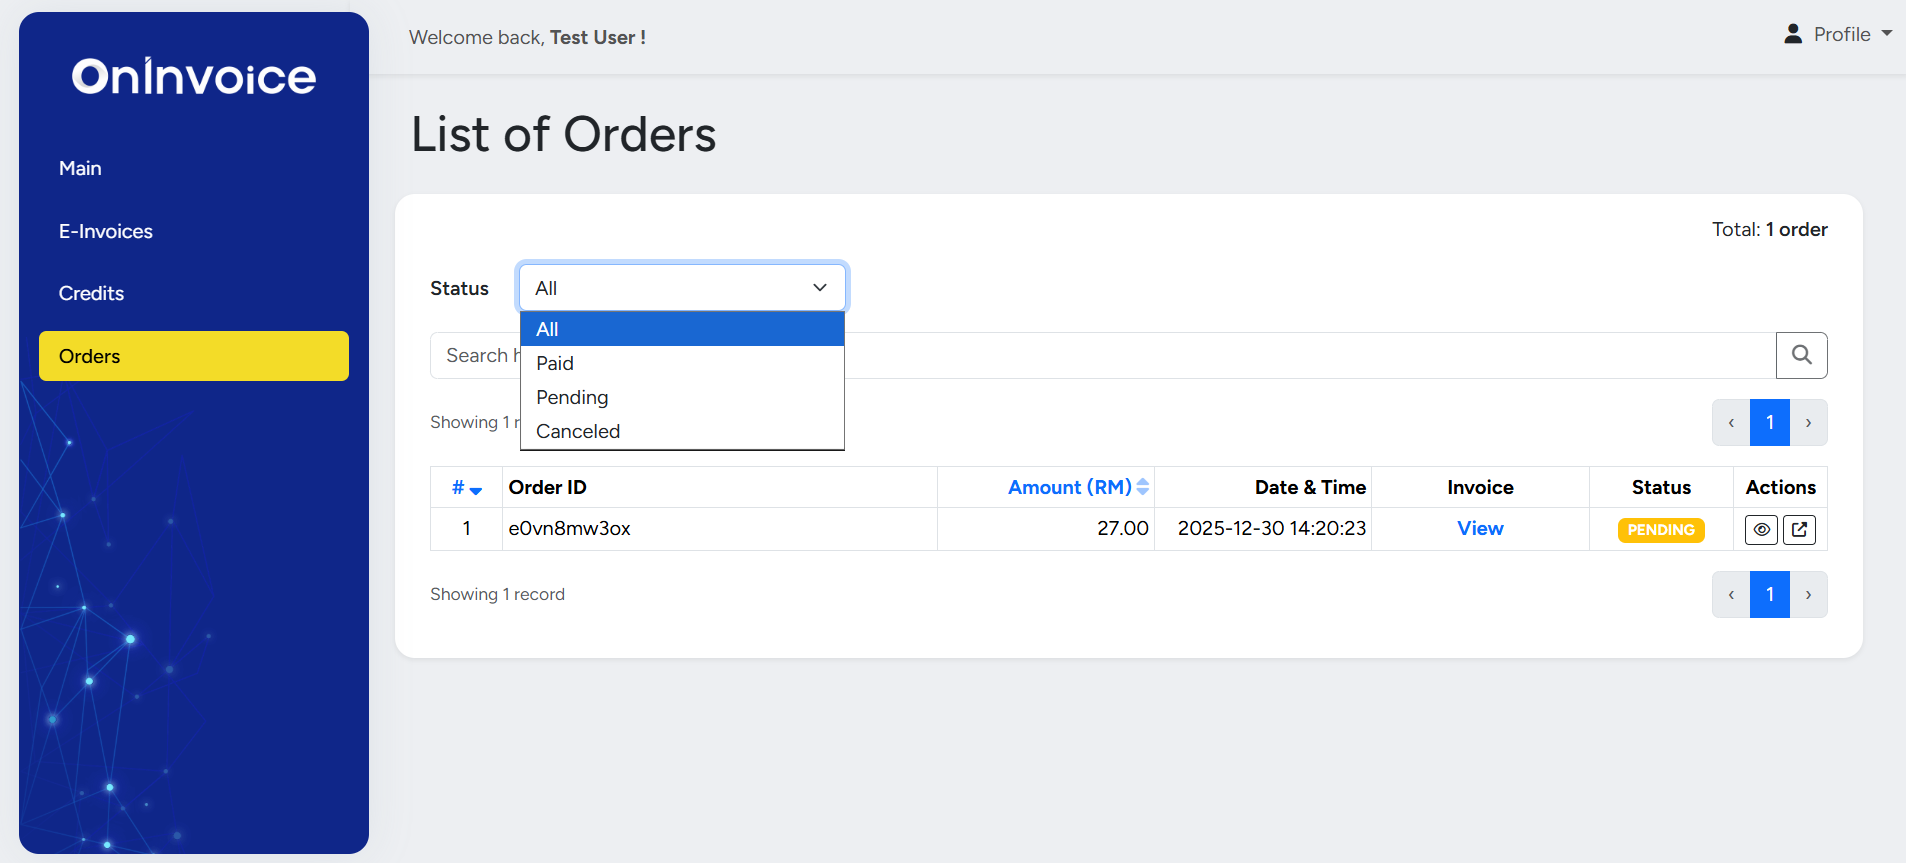
Order Management
View Orders
All credit purchases can be viewed under the Orders page. You may filter orders by status such as Paid, Pending, or Cancelled.
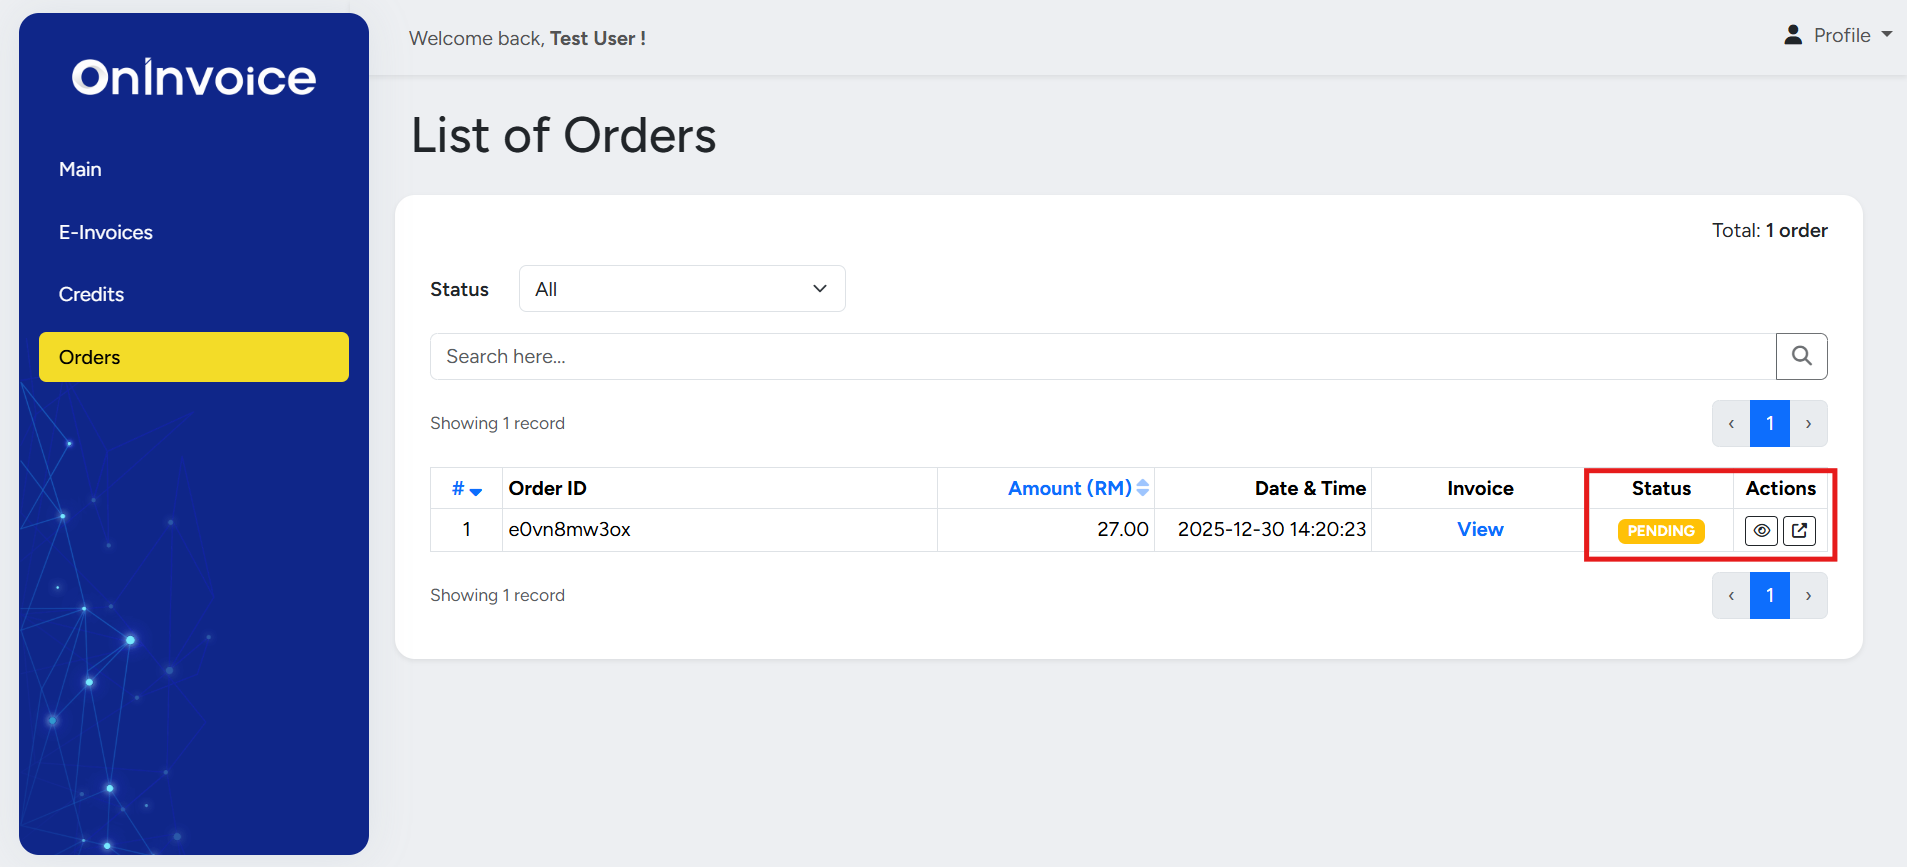
Pending Payments
- Open the order details using the status icon.
- Confirm payment details.
- Agree to the terms and proceed with payment.
Receipts
Once an order is marked as Paid , you may download the official receipt directly from the order details page.
E-Invoice Submissions
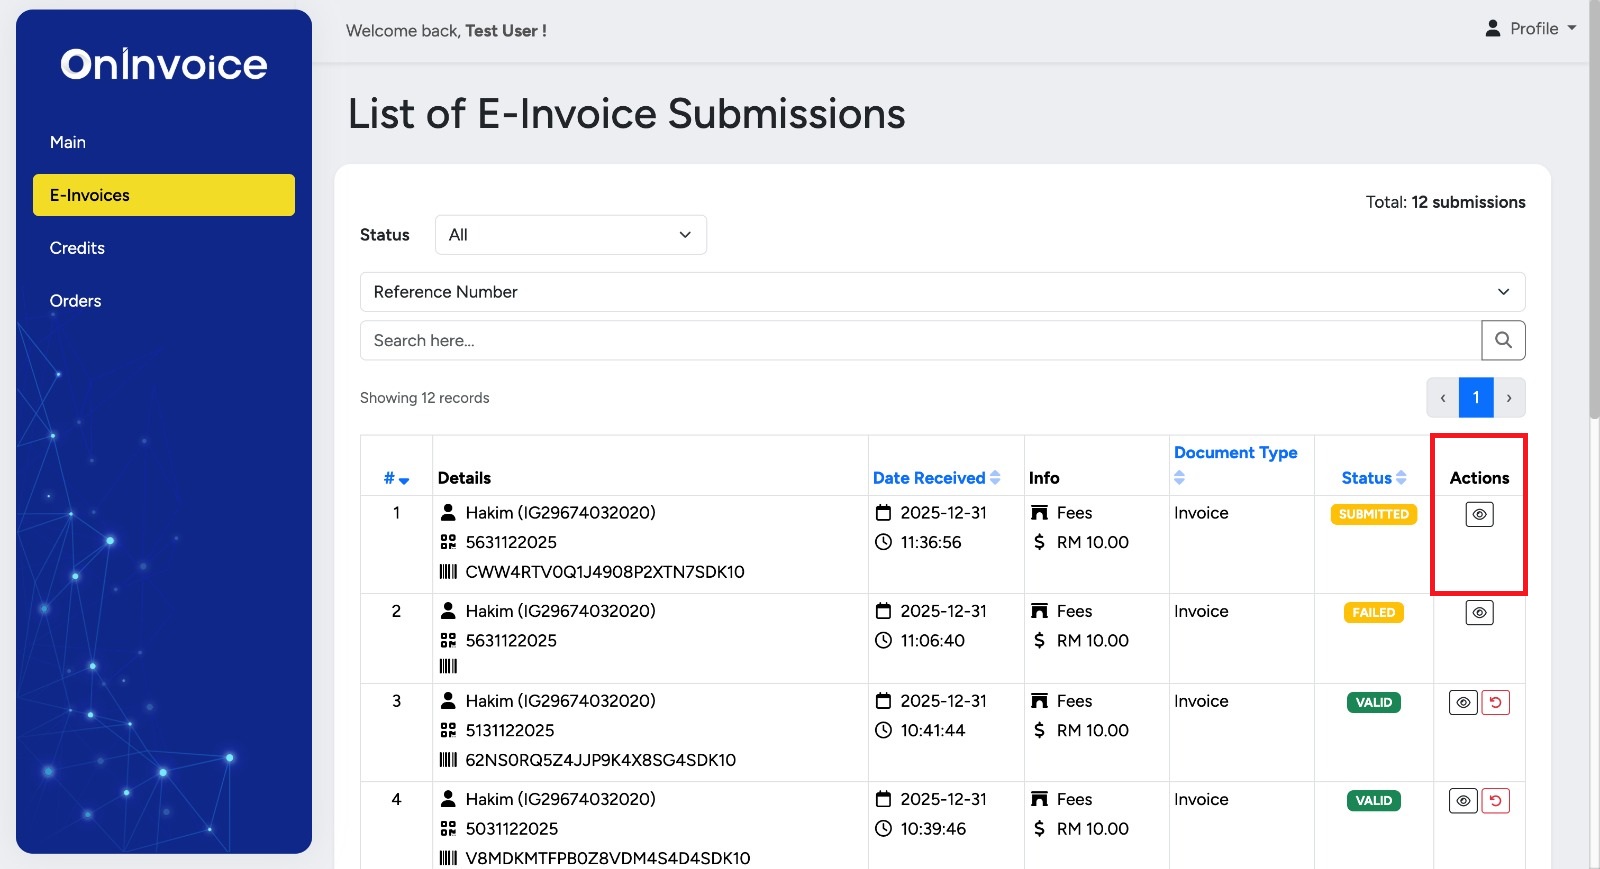
View E-Invoice Submissions
- Go to the E-Invoice page.
- View the list of submitted invoices.
- Click the view icon to see full invoice details.
This concludes the basic overview tutorial for the OnInvoice implementation. You should now have a general understanding of the core concepts, system flow, and integration approach. This overview is designed to help you get started and provide clarity on how the implementation works at a high level. As you continue with the next steps or deeper configuration, additional guidance is available to support you throughout the process.